
Oculus Quest is a standalone VR headset, which means it doesn't require a PC or external sensors to operate. However, connecting it to a PC enhances the high-end VR experience. How to cast Oculus Quest 2 to PC? This post walks you through the Oculus casting process on different laptops, including Chromebook, Windows, and MacBook. Absolutely, it also applies to other models, like Oculus Quest and Meta Quest 3.
Learn About Oculus Quest 2 Casting First
Before diving into the how-to guide, having a glimpse at Oculus casting is vital, which could help you start a smooth casting.
The Oculus Quest 2, now part of the Meta Quest series, is a standalone VR headset built for immersive gaming, entertainment, and social interaction. One of its most convenient features is the ability to cast your VR experience to another screen, allowing friends or family to watch what you're doing in real time.
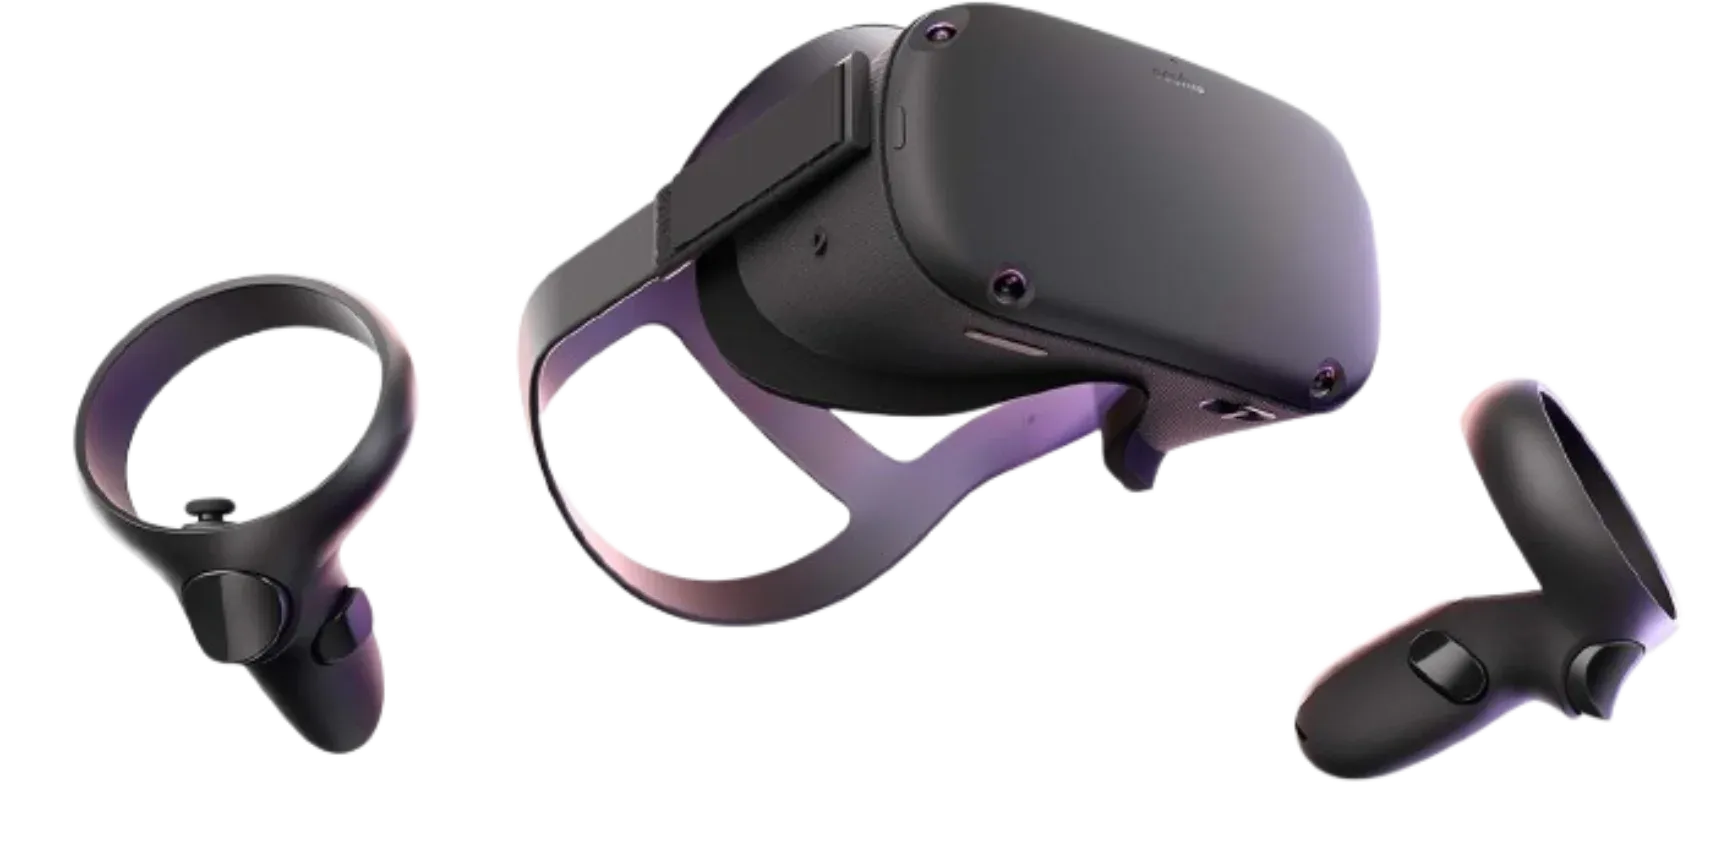
By default, Oculus Quest 2 supports casting through Google Cast and WebRTC. You can easily cast to a Chromecast-enabled TV or streaming device via Google Cast, or stream directly to the Oculus mobile app or a web browser using WebRTC.
The two wireless protocols offer low-latency screen sharing over Wi-Fi. However, the Quest 2 does not support Miracast or AirPlay, which are widely supported on Windows PC and MacBook. Therefore, casting directly to those devices isn't possible without workarounds.
Now that you understand how casting works on Oculus Quest 2, let's move on to what you're interested in: how to cast Oculus Quest 2 to PC. Don't worry; whether you are using a Windows PC, MacBook, or Chromebook. Each has its own steps, and we'll guide you through the process for each platform.
How to Cast Oculus Quest 2 to Chromebook
Although both Chromebooks and the Oculus Quest 2 support Google Cast, that doesn't mean you can connect them directly like you would with a Chromecast-enabled TV. That's because Chromebooks aren't built to act as cast receivers. They can send content to other devices, but they don't show up as a destination when your headset looks for something to cast to.
How to do Meta Quest cast to PC, like Chromebook? You need to open the Oculus casting page in your browser at www.oculus.com/casting. The site turns your browser into a temporary receiver using WebRTC, so that Oculus Quest 2 can link to your PC.
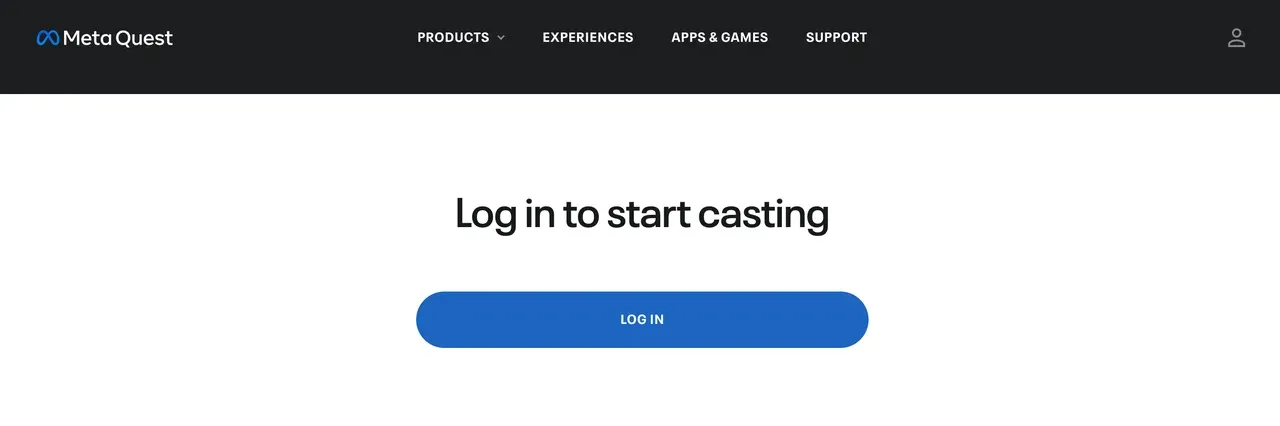
Once the webpage is open and your VR headset and Chromebook are on the same Wi-Fi network, the PC will show up as a casting target in the headset.
How to connect Oculus Quest 2 to PC? Check the step-by-step tutorial:
Step 1. Open the www.oculus.com/casting via a browser on your Chromebook.
Step 2. Turn on your Quest headset and make sure it is connected to the same Wi-Fi network as your Chromebook.
Step 3. Press the Oculus button on your right controller to access the Universal Menu (also called the home menu).
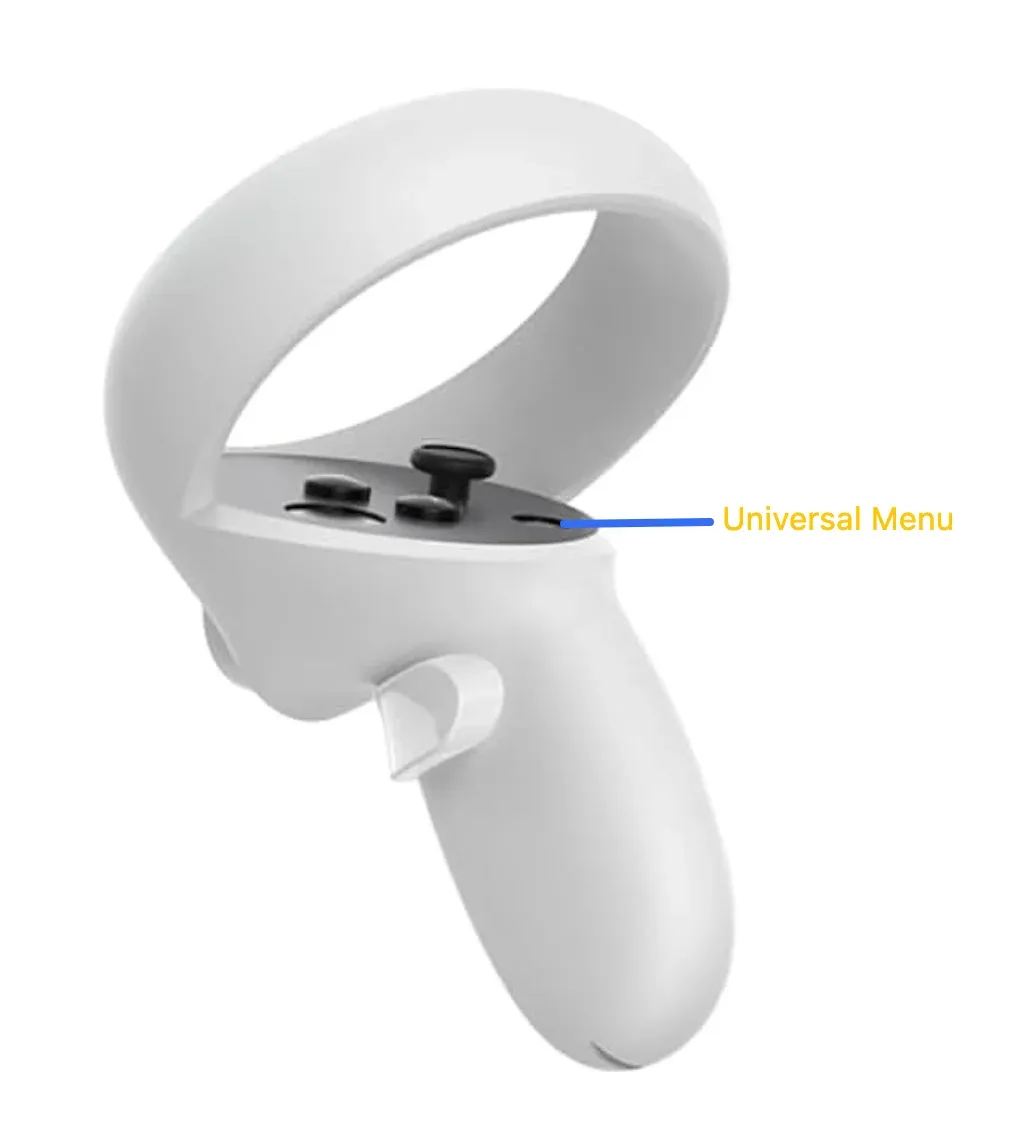
Step 4. Look for the Share or Camera icon in the menu bar or choose the clock in the menu to open Quick Settings.
Step 5. Choose Cast from the sharing options.
Step 6. You will then see a list of available devices, such as TV, phone, and computer, on your local Wu-Fi network to cast to. So, once you see your Chromebook, choose it. Note that this method allows you to cast directly from the headset to a TV with Chromecast built in and to the Meta Quest mobile app on your phone.
Step 7. Choose Next or Start to begin casting.
How to Cast Oculus Quest 2 to Windows
To make it, you can also open www.oculus.com/casting on your Windows computer and start Meta Quest 2 casting. However, the browser-based Oculus Quest casting is not perfect as you imagine:
- Limited video quality: The stream quality is often compressed and may appear blurry or choppy, especially during fast movements.
- No audio casting: Oculus does not transmit sound when casting to a browser, and viewers only see the visuals.
- Lag and latency: This method can introduce noticeable delay between headset actions and screen display, making it unsuitable for fast-paced content or gameplay recording.
How to cast from Oculus Quest 2 to PC, like Windows? Try the PigeonCast for Windows app. It is a free application that emulates a Google Cast receiver on your Windows PC, allowing the Oculus Quest to detect and cast to it seamlessly.
Unlike the browser-based casting, the third-party app can stream both video and audio from the Oculus Quest. Your friends and family can see what's happening in the headset and hear the in-game sound through the computer speaker. All will have an immersive experience.
How to connect Quest 2 to PC via the third-party app? The process is simple:
Step 1. Download and install the PigeonCast for Windows app on your Windows PC.

PigeonCast Screen Mirroring

Official Download


Step 2. Turn on your Oculus Quest 2 and ensure it uses the same Wi-Fi network as your Windows computer.
Step 3. Once the installation finishes, launch the app on your Windows PC, and now your Windows PC is Google Cast-ready and can be discoverable by your VR headset.
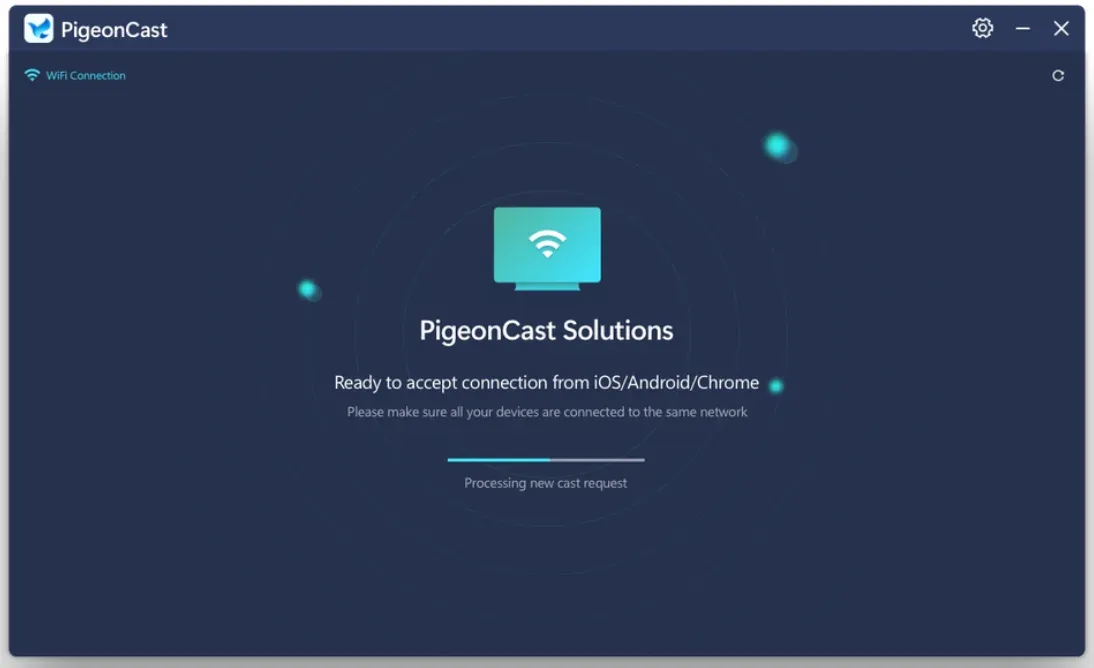
Step 4. On your right controller, press the Oculus button, then go to Camera > Cast.
Step 5. Choose your Windows PC from the device list and choose Next.
Step 6. Wait to connect.
Meta Quest cast to PC is easy to do with the PigeonCast app!
How to Cast Oculus Quest 2 to MacBook
You can also stream Oculus to PC (e.g., MacBook) once you access www.oculus.com/casting on the computer. However, your viewers can't hear the in-game sound and have a low-quality and lagging video on your MacBook.
How to stream Quest 2 to PC with sound and HD video? You can make it through another PigeonCast app called PigeonCast for MacBook. It works to upgrade your MacBook to a Google Cast receiver, bridging the gap between the Quest 2 and the Apple device.
Here's how to cast Quest 2 to PC, like MacBook:
Step 1. Download and install the PigeonCast for MacBook on your Mac.
PigeonCast Screen Mirroring
Official Download

Step 2. Turn on your Oculus Quest 2 and ensure it uses the same Wi-Fi network as your Mac.
Step 3. Once the installation is complete, launch the app on your Mac. Your device is now Google Cast-ready and can be discovered by your VR headset.
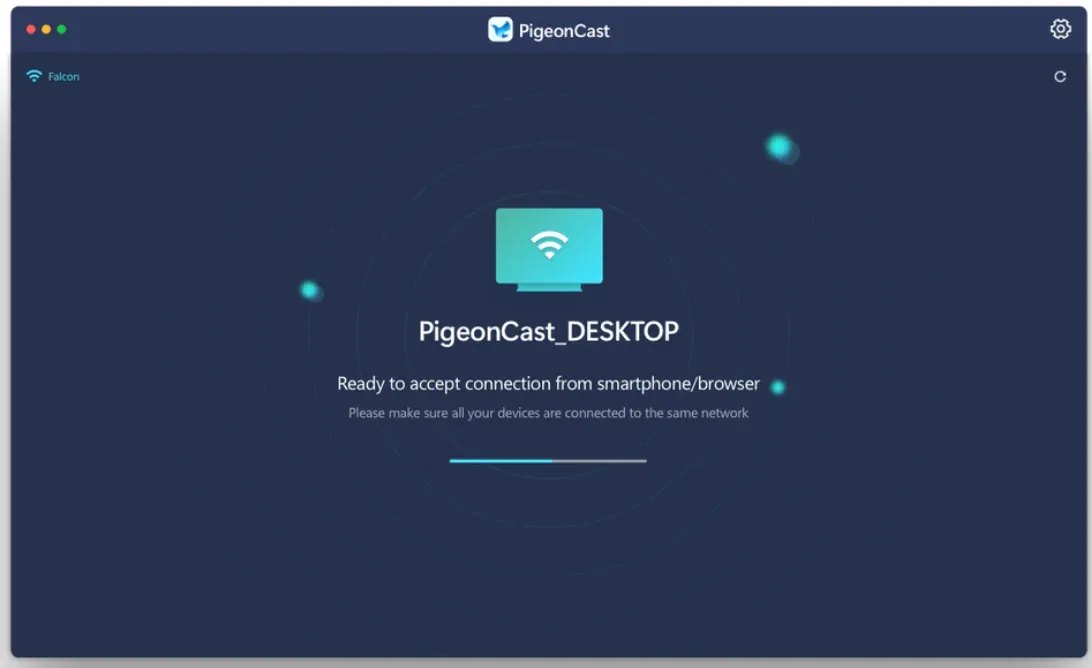
Step 4. On your right controller, press the Oculus button, then go to Camera > Cast.
Step 5. Choose your Mac from the device list and choose Next.
Step 6. Wait to connect.
Oculus stream to PC is easy to do with the PigeonCast app!
How to Cast Oculus Quest 2 to PC: Two Methods Comparison
By now, you've probably got a good handle on how to cast Oculus to computer—whether it's through the Oculus browser or our PigeonCast apps. But which one should you actually use? Let's break it down in plain English so you can pick the option that works best for you:
| Feature | Oculus Browser Cast | PigeonCast Apps (Windows & Mac) |
|---|---|---|
| Video Quality | Basic / Compressed | HD / Smoother |
| Audio Casting | ❌ No Sound | ✅ Yes |
| Casting Protocol | WebRTC (Browser Only) | Google Cast Emulation |
| App Required | ❌ No | ✅ Yes |
| Delay / Latency | Moderate to High | Low |
| Recording Support | ❌ Limited | ❌ Not Support Yet |
| Chromecast Needed | ❌ No | ❌ No |
| Works Offline | ❌ Needs browser | ✅ Yes |
If you want high-quality video and full audio support, especially for demos or family viewing, PigeonCast offers a far better experience than browser casting.
Moreover, your network setup has a big impact on Meta Quest casting to PC experience. Here are a few things you can do to keep things running smoothly:
- Make sure your headset and computer are on the same Wi-Fi network. Keep in mind: 2.4GHz and 5GHz networks might look similar but are treated separately.
- Always go with 5GHz Wi-Fi if it's available. It's faster and has less interference than 2.4GHz.
- Avoid casting in areas where the signal is weak or the network is crowded. Too many connected devices can slow things down.
- If you're sharing your Wi-Fi, try to limit heavy streaming or downloads while you're casting. A little bandwidth goes a long way.
Can't Cast Oculus Quest to Your Computer: Troubleshooting Tips
Even if you follow all the steps, casting your Oculus Quest to a PC doesn't always go off without a hitch. Here are a few common issues and what you can do to fix them:
Issue one: can't see your computer as a casting option
- First, make sure you've got the Oculus casting site open in your browser or that the PigeonCast app is running.
- Double-check that both your headset and your computer are on the same Wi-Fi network (ideally the 5GHz band).
- If that doesn't help, try restarting both your Quest and your computer.
- On Windows, it's worth checking if your firewall or antivirus is blocking connections as they sometimes get in the way.
Issue two: the video is laggy or choppy
- Move your Quest and computer closer to your Wi-Fi router, and make sure you're on the 5GHz band if possible.
- Close other apps or tabs on your computer to free up memory and bandwidth.
- For smoother performance, try using PigeonCast instead of the browser method. It's optimized to reduce lag and give you a more fluid experience.
Issue three: nothing shows up on the cast menu
- Try giving your headset a quick reboot.
- Make sure your browser tab or casting app is active and not minimized.
- If that still doesn't work, a quick router reboot can sometimes solve stubborn issues.
Final Words
Casting your Oculus to PC is a great way to enjoy your VR content on a bigger screen or share the experience with others. Whether you're using a Chromebook, Windows PC, or MacBook, this guide walks you through the process step by step.
This method isn't just for Oculus Quest 2; it also works seamlessly with Oculus Quest and Meta Quest 3. No matter which model you have, you're now ready to cast Oculus to PC with confidence.
Whether you prefer the official browser option or want a smoother, more reliable experience with PigeonCast, the choice is yours.
How to Cast Oculus Quest 2 to PC FAQs
Q: How do I connect Oculus Quest 2 to my PC?
You can connect your Quest 2 to your PC either wirelessly or with a USB-C cable. For wireless casting, use the Oculus casting page in a browser or a third-party screen mirroring app like PigeonCast. For full PC VR gameplay, use Oculus Link (with a cable) or Air Link (wireless), both available through the Oculus app on your computer.
Q: How to connect Quest 2 to PC without link cable?
You can connect wirelessly in two main ways:
- For casting your headset's screen to the computer, open oculus.com/casting or use a mirroring app like PigeonCast—no cable needed.
- For full VR gaming on your PC, enable Air Link in the headset settings and Oculus PC app, making sure both devices are on the same high-speed Wi-Fi network.
Q: What cable is needed to connect Quest 2 to PC?
You'll need a USB-C cable that supports high-speed data transfer—preferably USB 3.0 or higher. Oculus sells the official Link Cable, but many third-party USB-C to USB-A or USB-C to USB-C cables also work well. Make sure it's long enough (around 10 feet or 3 meters) for comfortable gameplay.
Mia Clarke is a technology editor specializing in screen mirroring and casting solutions across multiple platforms. Mia provides clear, practical guides and in-depth insights to help users seamlessly connect their devices. Passionate about enhancing digital experiences, Mia is dedicated to keeping readers updated on the latest trends and tools in cross-platform screen sharing. Whether you’re looking to mirror your smartphone, laptop, or smart TV, Mia’s content delivers reliable, user-friendly advice to simplify your tech setup.